


Apr 4, 2024

seen from Canada

seen from United States
seen from China
seen from Maldives

seen from Bulgaria

seen from Maldives
seen from Belgium
seen from United States

seen from Finland
seen from United States

seen from Maldives
seen from China
seen from China
seen from United States
seen from Ireland
seen from United States

seen from France

seen from Trinidad & Tobago

seen from Singapore

seen from United States
Hyperfocal
With regard to depth of field I should probably mention hyperfocal distance. There are actually two definitions for hyperfocal distance.
1. The closest distance at which a lens can be focused and still have objects at infinity acceptably sharp.
2. For a lens focused at infinity, the distance beyond which all objects are acceptably sharp.
While these two definitions result in almost the same depth of field they’re not identical (only differing by one focal length) but are interchangeable from a practicality perspective for most situations.
When I was a kid I had a point and shoot camera that didn’t have any configuration capability; there wasn’t any way to focus the lens, change the aperture or adjust the shutter speed. Literally, point and shoot.
When I got a bit older and starting shooting with my Dad’s full-function cameras I asked him how my no-option camera managed to get anything in focus. He introduced me to the concept of hyperfocal distance and explained that the camera was fixed at a moderate aperture (probably around f/8), had a slight wide angle lens (probably 35mm equivalent) and was permanently focused at infinity. These settings ensure acceptable results for most daylight pictures.
Current disposable cameras probably work on the same principles, though I haven’t played with them at all to verify that.
Arthur “Weegee” Fellig, a legendary street photographer, is credited with coining the phrase “f/8 and be there”. Using an aperture of f/8 provides a reasonable large depth of field and when coupled with an appropriate focus setting allows shooting rapidly and achieving acceptable results without having to fiddle with the technical camera settings.
(Canon 5DMII, EF24-105 @ 105mm, 1/80s, f/8, ISO 640)
Queen of the Stars (CinemaScope Version) by Ateens Chen Via Flickr: Wellington, New Zealand (ウェリントン, ニュージーランド) Doll × Tilt-Shift photography. 25-frame milky way panorama portrait photo by Nikon D810 and PC-E NIKKOR 24mm f/3.5D ED lens. A new journey here. Love with Ogata Rina from NZ. Comments and questions are all welcome. Thank you for viewing.

See Hyperfocal Focusing in Action for Street Photography
Mark Wallace demonstrates how hyperfocal focusing can even be faster than your camera on auto focus.
One of the best tricks that street photographers up their sleeves for getting sharply focused snaps is the zone focusing system. If you’ve heard of the term hyperfocal focusing, it’s essentially the same thing. It involves using the depth of field produced by your aperture and the focusing scale of your camera or lens to achieve sharp focus for both your subject and the scene. This is…
View On WordPress
Autofocus is Overrated: How to Hyperfocal Focus
New item has been added on ThemeKeeper.com https://themekeeper.com/photography-video/autofocus-is-overrated-how-to-hyperfocal-focus
Just because your camera can focus for you doesn't mean you should let it do everything. When you want to maximise depth of field, you need to know how to find and use your lens's optimal focal point—the hyperfocal distance. In this tutorial you'll learn why hyperfocal distance still matters in the age of digital, how to find the hyperfocal distance, and how this method of focusing works in the real world.

Hyperfocal Distance & Focusing
If you want to take the sharpest possible images, particularly landscapes understanding hyperlocal distances is simply invaluable. Hyperfocal focusing enables you to get the sharpest possible photographs with maximum depth of field. It is extremely important when incorporating close objects in the scene.
Hyperfocal distance is the focusing distance that gives your photos the greatest depth of field, an example is a landscape picture where you want everything (foreground and background) to appear sharp.
If you focus on the foreground, the background will appear blurry in the image, if you focus on the background, the foreground will look out of focus. To achieve both you focus at a particular point between the foreground and the background, which makes both the foreground and the background elements of the scene appear reasonably sharp. This focusing point is called the hyperfocal distance.
The technical definition of hyperfocal distance is ‘The closest focusing distance that allows objects at infinity to be sharp and in-focus’
Think of “infinity” as the horizon or stars at night. By this definition, the hyperfocal distance of your lens will vary with apertures and heres why.
If the aperture is wide, such as F2.8 you will need to focus quite far away for objects at infinity to appear in focus. However, at a small aperture such as F16 distant objects will continue to be sharp even if your lens is focused more closely. There for with smaller apertures the hyperfocal distance will be closer to your lens.
The focal length of the lens also has a huge impact on hyperfocal distance. As you zoom in your hyperfocal distance moves further away. For a 20mm lens you may need to focus just a few feet from your lens to get the horizon sharp. For a 200mm lens the hyperfocal distance may be hundreds of feet away.
It is important to note that if you focus at the hyperfocal distance the image will be sharp from half that point to infinity. So if the hyperfocal distance for a given aperture and focal length is ten feet, everything from five feet all the way until the horizon will appear sharp.
Not all photographs require you to use hyperfocal distance. For example if you are stood on a mountain and there are no objects in your foreground it would be silly to focus at the hyperfocal distance because the nearest object is at infinity. Instead, you should focus on the distant mountains or horizon. Hyperfocal distance is only useful when objects that are both close and far away from your lens need to be sharp. Since you are actually focusing between these objects, neither is perfectly sharp they are both simply close enough or “acceptably sharp”. When you don’t have a nearby object in the scene you can completely ignore hyperfocal distance.
Most lenses don’t produce details very well at wide apertures, particularly towards the edges of the frame. Each lens has a “sweet spot” where it optically performs the best. These are usually around F11 & F16.
The most common method of finding a photo’s hyperfocal distance is to use a chart like the one below. There are also apps available for your phone which are much simpler to use.
To use a hyperfocal distance chart follow these steps.
1 Choose a lens, and be sure to note the focal length that you are using.
2 Pick an aperture value.
3 Find the hyperfocal distance that corresponds to your chosen focal length and aperture.
4 Focus your lens at the hyperfocal distance. This can be done by estimation.
5 Now, everything from half that distance until infinity will be sharp.
Some other methods you can try out are below, however they are not completely perfect.
The Live View Infinity Focus Method
1 Take a photograph, set at the aperture that you plan to use, focused on the farthest background object in your image.
2 Review the resulting image at a high magnification (preferably at 100% zoom). Scroll down the photograph until you find the closest point that still looks acceptably sharp (everything past this point to the foreground should look blurry). This point is the hyperfocal distance.
3 Focus your lens at this point. Be sure not to change your aperture.
4 Now, everything from half that distance until infinity will be sharp.
The Blur Focus Method
For this method enter live view mode at the widest aperture that the lens offers. Then focus the lens so that both the foreground and the background are equally blurry – that focus distance is the hyperfocal distance.
1 Turn the lens to manual focus.
2 Select the widest aperture available on the lens (typically somewhere from F1.8 to F4.
3 Turn on live view.
4 Focus the lens so that the closest object and the furthest object in the scene are equally blurry.
5 Don’t touch the focus ring anymore as its already set to your hyperfocal distance.
6 Set the desired lens aperture. Now everything from half the hyperfocal distance until infinity will be sharp.
Put this in to practice and watch as you develop better quality images, start to understand depth of field and composition more. Good Luck!

You May Think I’m Shallow, but Wait Until You See Me at f-16.
Depth of field is an over talked concept, but it’s a fundamental tool of the director to focus our attention on the action, not the background. Our eyes don’t dwell much on areas that are fuzzy and indistinct. We mostly derive attention and meaning from what’s in focus, what’s the brightest and what’s moving. Being able to throw the background out of focus is really useful. We’ve got four ways to do that besides just moving away from the background.
the larger the f-stop opening = shallow depth of field
the longer the focal length = shallow depth of field
the closer the subject distance = shallow depth of field
the larger the image sensor size = shallow depth of field
Some of these are completely independent and some are inversely connected. If we use a long focal length lens the image gets bigger so to keep the same size image we move away canceling out the close distance effect. However people do look better shot with a longer focal length lens and us backed away more so it’s a better (more flattering) image. We lose, we win. Otherwise if we’re up close we use a wide angle lens and end up with big noses and an odd wider look. Backing up a bit and zooming in makes us look “normalier” and better proportioned.
For the video people who have always shot with small chip cameras moving over to the DSLR cameras with 35mm size chips instantly gives them that film look shallow depth of field effect we all so eagerly want. In fact shooting with a 35mm video camera gives us more depth of field than shooting on a film 35mm camera because 35mm cinema film shoots perpendicular to the film and produces a smaller image. Irony.
(A photo 35mm frame is larger than a film 35mm frame because they shoot at 90 degrees to each other. Photo uses the length, film uses the width. Video on a DSLR is more like photo – again! Weird, right?)
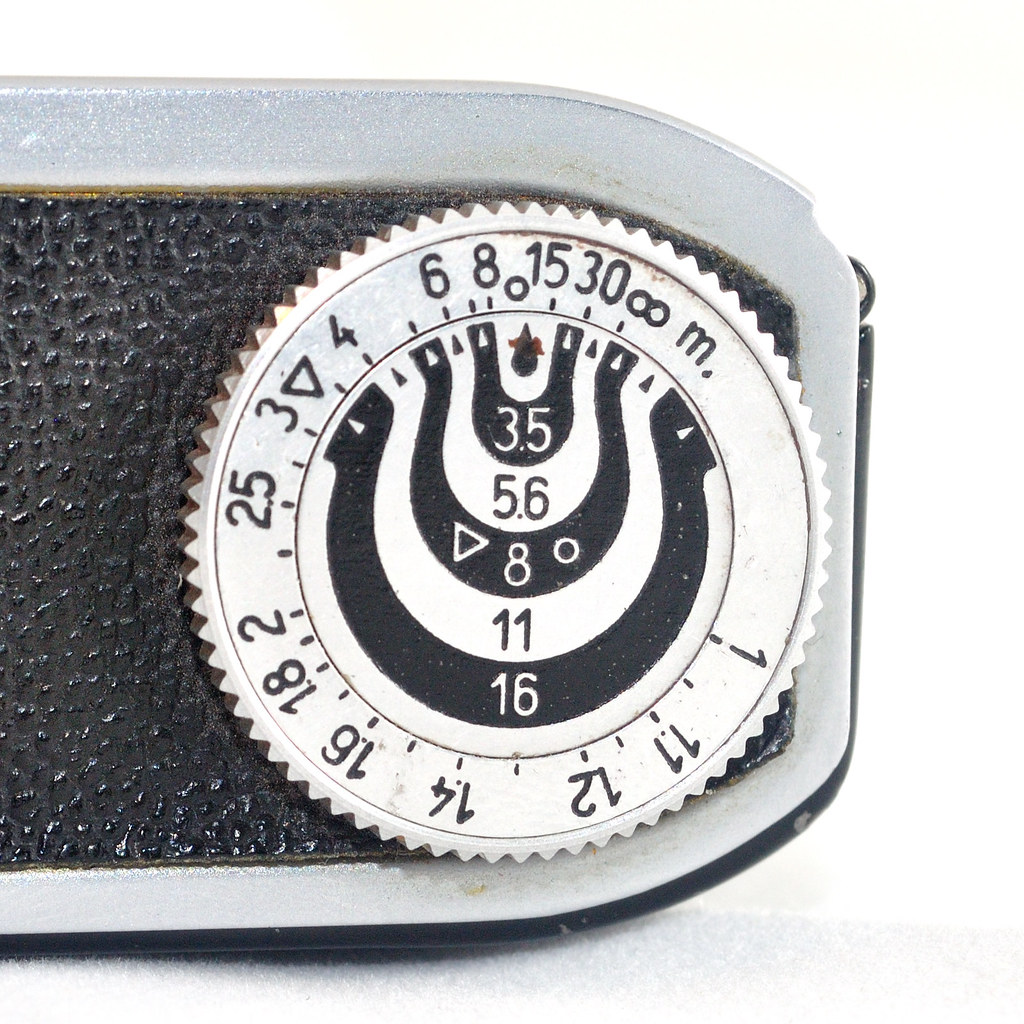
So what seems to be in focus is a distance range that extends in front of where you focus and behind where you focus. It’s a proportion and the real amount grows or shrinks depending on the depth of field. Photo lenses have markings on the lens rings that show the f-stops and a distance ring that computes what will be in focus and what’s not. On a traditional photo lens you can use the marks to set the far distance to your f-stop and see on the lens what the near distance is for that f-stop. The point that the lens is now focused at is the hyperfocal distance.
On my Nikon 50mm lens if I put the infinity mark at f-22 as the far distance I can tell that it’s going to be in sharp up to 7 feet from the camera, while the lens is actually focused at 15 feet.
It’s a heck of a lot easier to learn about all of this on a still camera with these markings than on a video camera with virtually nothing to go by. That’ll change. Well, it ought to. As for pocket cameras there’s nothing to go by. Crickets.
Khobar III: Light by Khalid Al-Issa on Flickr.